
If you’ve ever seen your fabric layers move out of position just as you start sewing, tacking could be the remedy you’ve missed. Also called as basting, this straightforward method includes creating long temporary stitches to keep fabric pieces together before the final seam. It’s an ages-old approach, but one that nevertheless merits its place in contemporary stitching. Whether you’re working on delicate chiffon or a structured jacket, tacking provides you control, precision, and the confidence to alter before committing to permanent stitching.
Many sewists depend on pins or clips, although tacking typically proves more trustworthy when dealing with slippery, thick, or curved textiles. It assists in fitting clothes, marking patterns, or holding trims in place without harm. Once you grasp when to apply it, and the difference between hand and machine tacking, you’ll find it becomes second nature, making every job seem cleaner and more professional.
What Is Tacking and Why It Matters
Tacking, sometimes called basting, is the process of sewing long, loose stitches to temporarily hold fabric layers together. The stitches are easy to remove and are usually done before sewing the permanent seam. It’s one of those quiet techniques that doesn’t get much attention but can completely change how a project turns out.
The Purpose Behind Tacking
Tacking gives you a trial run before the final stitch. It helps keep fabric from slipping, lets you test the fit, and gives you a clear idea of how the seams will sit once finished. This is especially useful when working with fabrics that are:
- Slippery or delicate such as satin, silk, or organza.
- Thick or structured like denim, upholstery fabric, or wool.
- Curved or gathered, where alignment is crucial before topstitching.
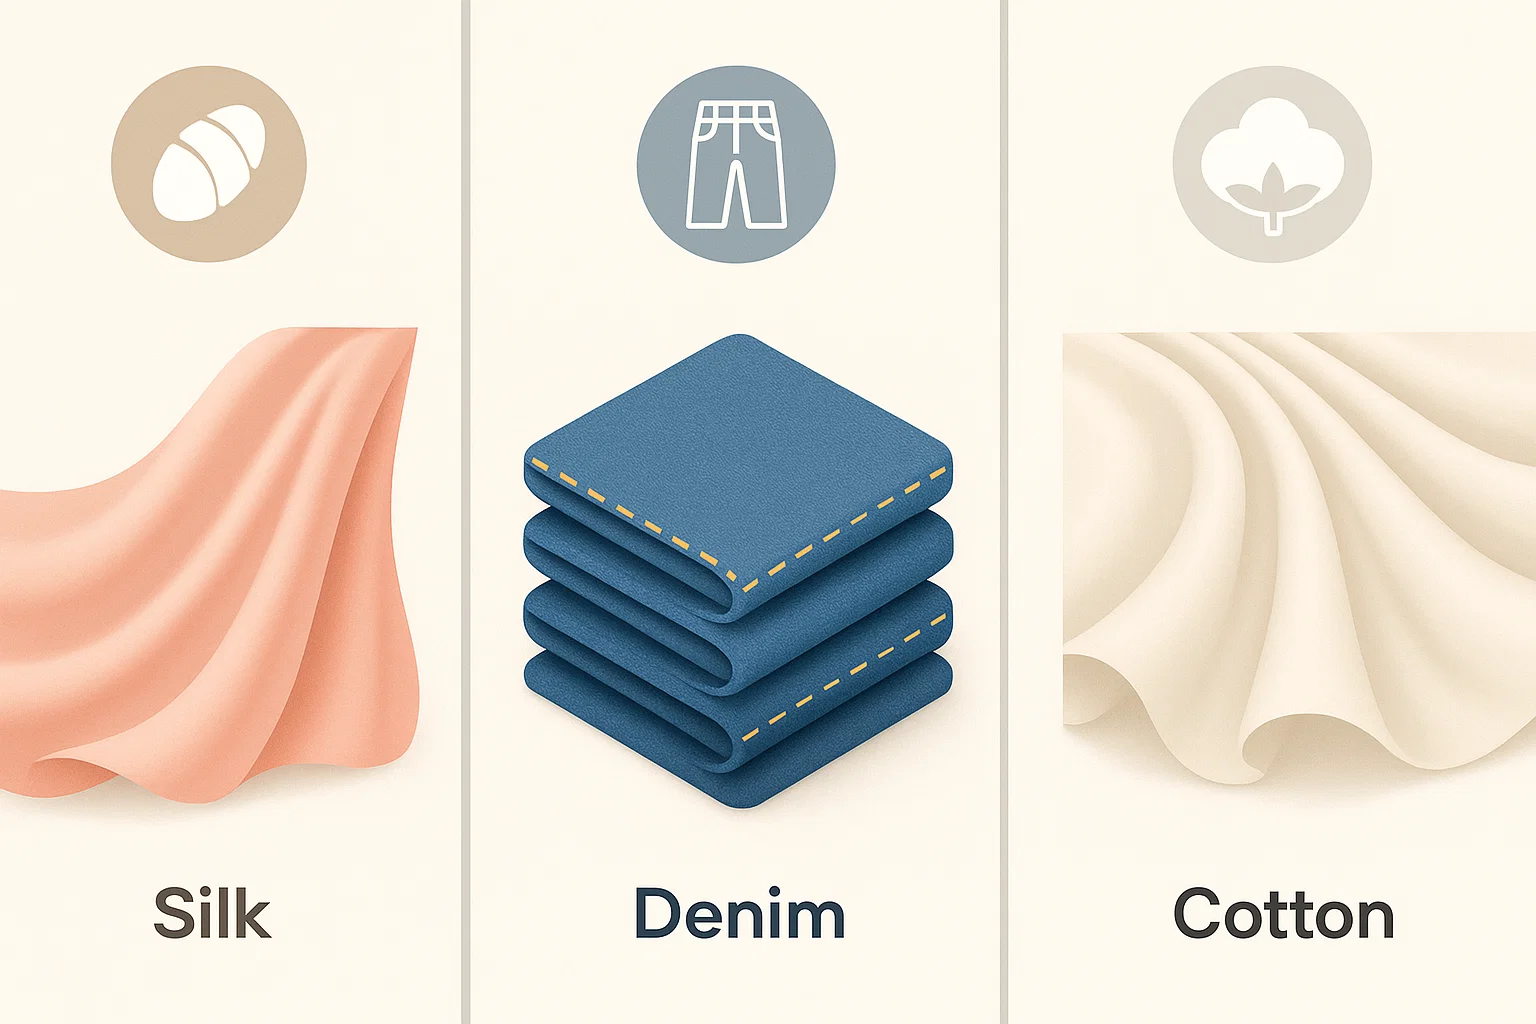
Showing fabric types, such as silk, denim, and gathered cotton, and where tacking is useful
It’s also a favourite method in tailoring because it allows fittings and adjustments without damaging the fabric. Many professional dressmakers still tack seams by hand before machine stitching to maintain precision.
Small Step, Big Payoff
Skipping tacking might save a few minutes, but it often costs more time later when seams shift or patterns misalign. Taking the time to baste your fabric can prevent unpicking and ensure your final piece looks polished. Even a quick machine basting line can steady tricky areas like zips or pleats before final assembly.
Techniques and Tools for Tacking
There’s more than one way to tack, and the best method often depends on your project, fabric, and personal preference. Whether you’re using a needle and thread or your sewing machine, the goal is the same: to keep everything in place until you’re ready for the final stitch.

The SCHMETZ Jeans needle is specifically designed for denim
Hand Tacking Methods
Hand tacking gives you control that’s hard to match. It’s gentle on delicate fabrics and helps you work around awkward shapes. A few methods worth knowing include:
- Even tacking: simple running stitches used for holding seams together.
- Tailor’s tacks: loops of thread used to mark pattern points or darts.
- Diagonal tacking: slanted stitches that secure linings or multiple layers.

Long, loose temporary stitches across a layer of fabric
Use a soft cotton thread that pulls out easily, and keep your stitches long enough to remove without leaving marks. For example, when fitting a bodice or aligning patterned fabrics, hand tacking helps ensure perfect placement before you start machine sewing.
Machine Tacking (Machine Basting)
When you need speed or are working with heavy fabric, machine tacking is often the better choice. Simply set your machine to the longest stitch length available and avoid backstitching so the thread can be removed easily later. A few practical uses include:
- Holding zips in position before topstitching.
- Keeping gathers even when attaching skirts or sleeves.
- Testing a seam for fit before using a smaller stitch.
Tools and Accessories to Make It Easier
A few essentials can make tacking faster and neater:
- A sharp hand-sewing needle for precision.
- Contrasting thread so you can see and remove it easily.
- A seam ripper to pull out stitches once the final seams are secure.
- A sewing machine with adjustable stitch length for quick machine basting.
When Should You Use Tacking?
Tacking comes in handy more often than you might expect. It’s not just for beginners; experienced sewists rely on it whenever accuracy, control, or flexibility are needed. Here are some of the most useful times to bring tacking into your process.
Common Situations Where Tacking Helps
- Fitting garments: Tack seams temporarily so you can adjust for size or shape before committing to the final stitch. This is especially useful for tailored jackets or fitted dresses.
- Holding slippery fabrics: When working with satin, chiffon, or lining materials, tacking keeps layers from shifting.
- Marking patterns: Tailor’s tacks help transfer notches, darts, or pleats accurately from pattern to fabric without leaving marks.
- Setting gathers: A pair of tacking lines helps create even gathers on sleeves or skirts.
- Securing trims or zips: Tacking holds these in position for a neater finish when you sew permanently.
Tacking vs Pins or Clips
It’s tempting to rely only on pins or clips, but they can sometimes distort fabric or create uneven seams. Tacking takes more time at the start, yet it often prevents misalignment and unpicking later.
- Use tacking for curved seams, delicate materials, or areas that require precision.
- Use pins or clips when you need a quick hold on stable fabrics.
- Combine both if the project demands stability and flexibility, such as sewing a lined dress or quilted panel.
Tacking Tips, Tricks, and Mistakes to Avoid
Tacking may be temporary, but doing it properly makes a noticeable difference. A few simple habits can help you get the best results and save time later on.

Showing tacking tips: use contrasting thread, keep stitches loose, tack within seam allowance, remove before pressing
Handy Tips for Better Tacking
- Use a contrasting thread: It’s easier to see and remove when your final stitching is complete.
- Keep stitches loose: Tight stitches can distort the fabric or leave marks once removed.
- Tack within the seam allowance: This ensures no visible traces after the seam is finished.
- Remove tacking before pressing: Heat can set the thread into the fabric, making it harder to pull out cleanly.
- Test first: When working with delicate or unfamiliar fabrics, try your tacking method on a scrap piece to see how it behaves.
Mistakes That Slow You Down
Over-tacking everything: Not every project needs it. Reserve tacking for areas that require precision or flexibility.
Using strong or textured thread: These can snag or damage light fabrics. Stick to soft cotton or polyester thread.
Forgetting to remove stitches: It’s easy to overlook them, especially when the colour matches the fabric. Always check before final pressing.
Tightening the tension too much on a machine baste: This can make stitches difficult to remove and cause slight puckering.
First Step to Smarter Sewing
Tacking can seem like an old-fashioned habit, but it’s one of the easiest methods to make your sewing more precise. Whether you’re fitting a tailored jacket, adding gathers to a skirt, or aligning a problematic fabric, those non-permanent stitches offer you time to alter and perfect before you commit. The more you use it, the more you’ll appreciate how it steadies your work and avoids minor errors from becoming major ones.
To explore sewing machines with basting options, along with hand-sewing tools and accessories that make tacking easier, visit us at Franklins.