
Seams are the first step in any sewing endeavour. They hold a piece of clothing together, shape how it fits, and change the way it looks on the inside and outside. But many people who sew don’t realise how much the choice of seam can affect the end product. A transparent blouse looks elegant with a delicate French seam, and a sturdy flat-felled seam keeps denim durable for years of wear. No matter what fabric or pattern you choose, the perfect seam will make your work appear professional and last longer.
It’s not always easy to decide which seam to put to use. Soft, enclosed finishes are best for lightweight fabrics, while strong, structured finishes are best for heavyweight materials. Your tools, skill level, and even the design decisions you make all matter. You can progress from sewing like a novice to a pro by learning how various seams work, from plain to overlocked. Today, we’ll talk about each kind of seam, when it’s best to use the, and share some handy hints to help you choose the perfect one for your next project in the following few sections.
The Most Common Types of Seams Explained
Seams come in many forms, each serving a distinct purpose. Some offer strength, others add decorative flair, and a few are designed purely for neatness. Here’s a closer look at the most common types you’ll use in everyday sewing.
Plain Seam
A plain seam is where most sewists begin. It’s quick to sew and suitable for a wide range of projects, from dresses and shirts to home textiles. Simply place your fabric pieces right sides together and stitch along the edge. Pressing the seam open helps it sit flat and gives a clean look. For extra durability, finish the raw edges with pinking shears, a zigzag stitch, or an overlocker.
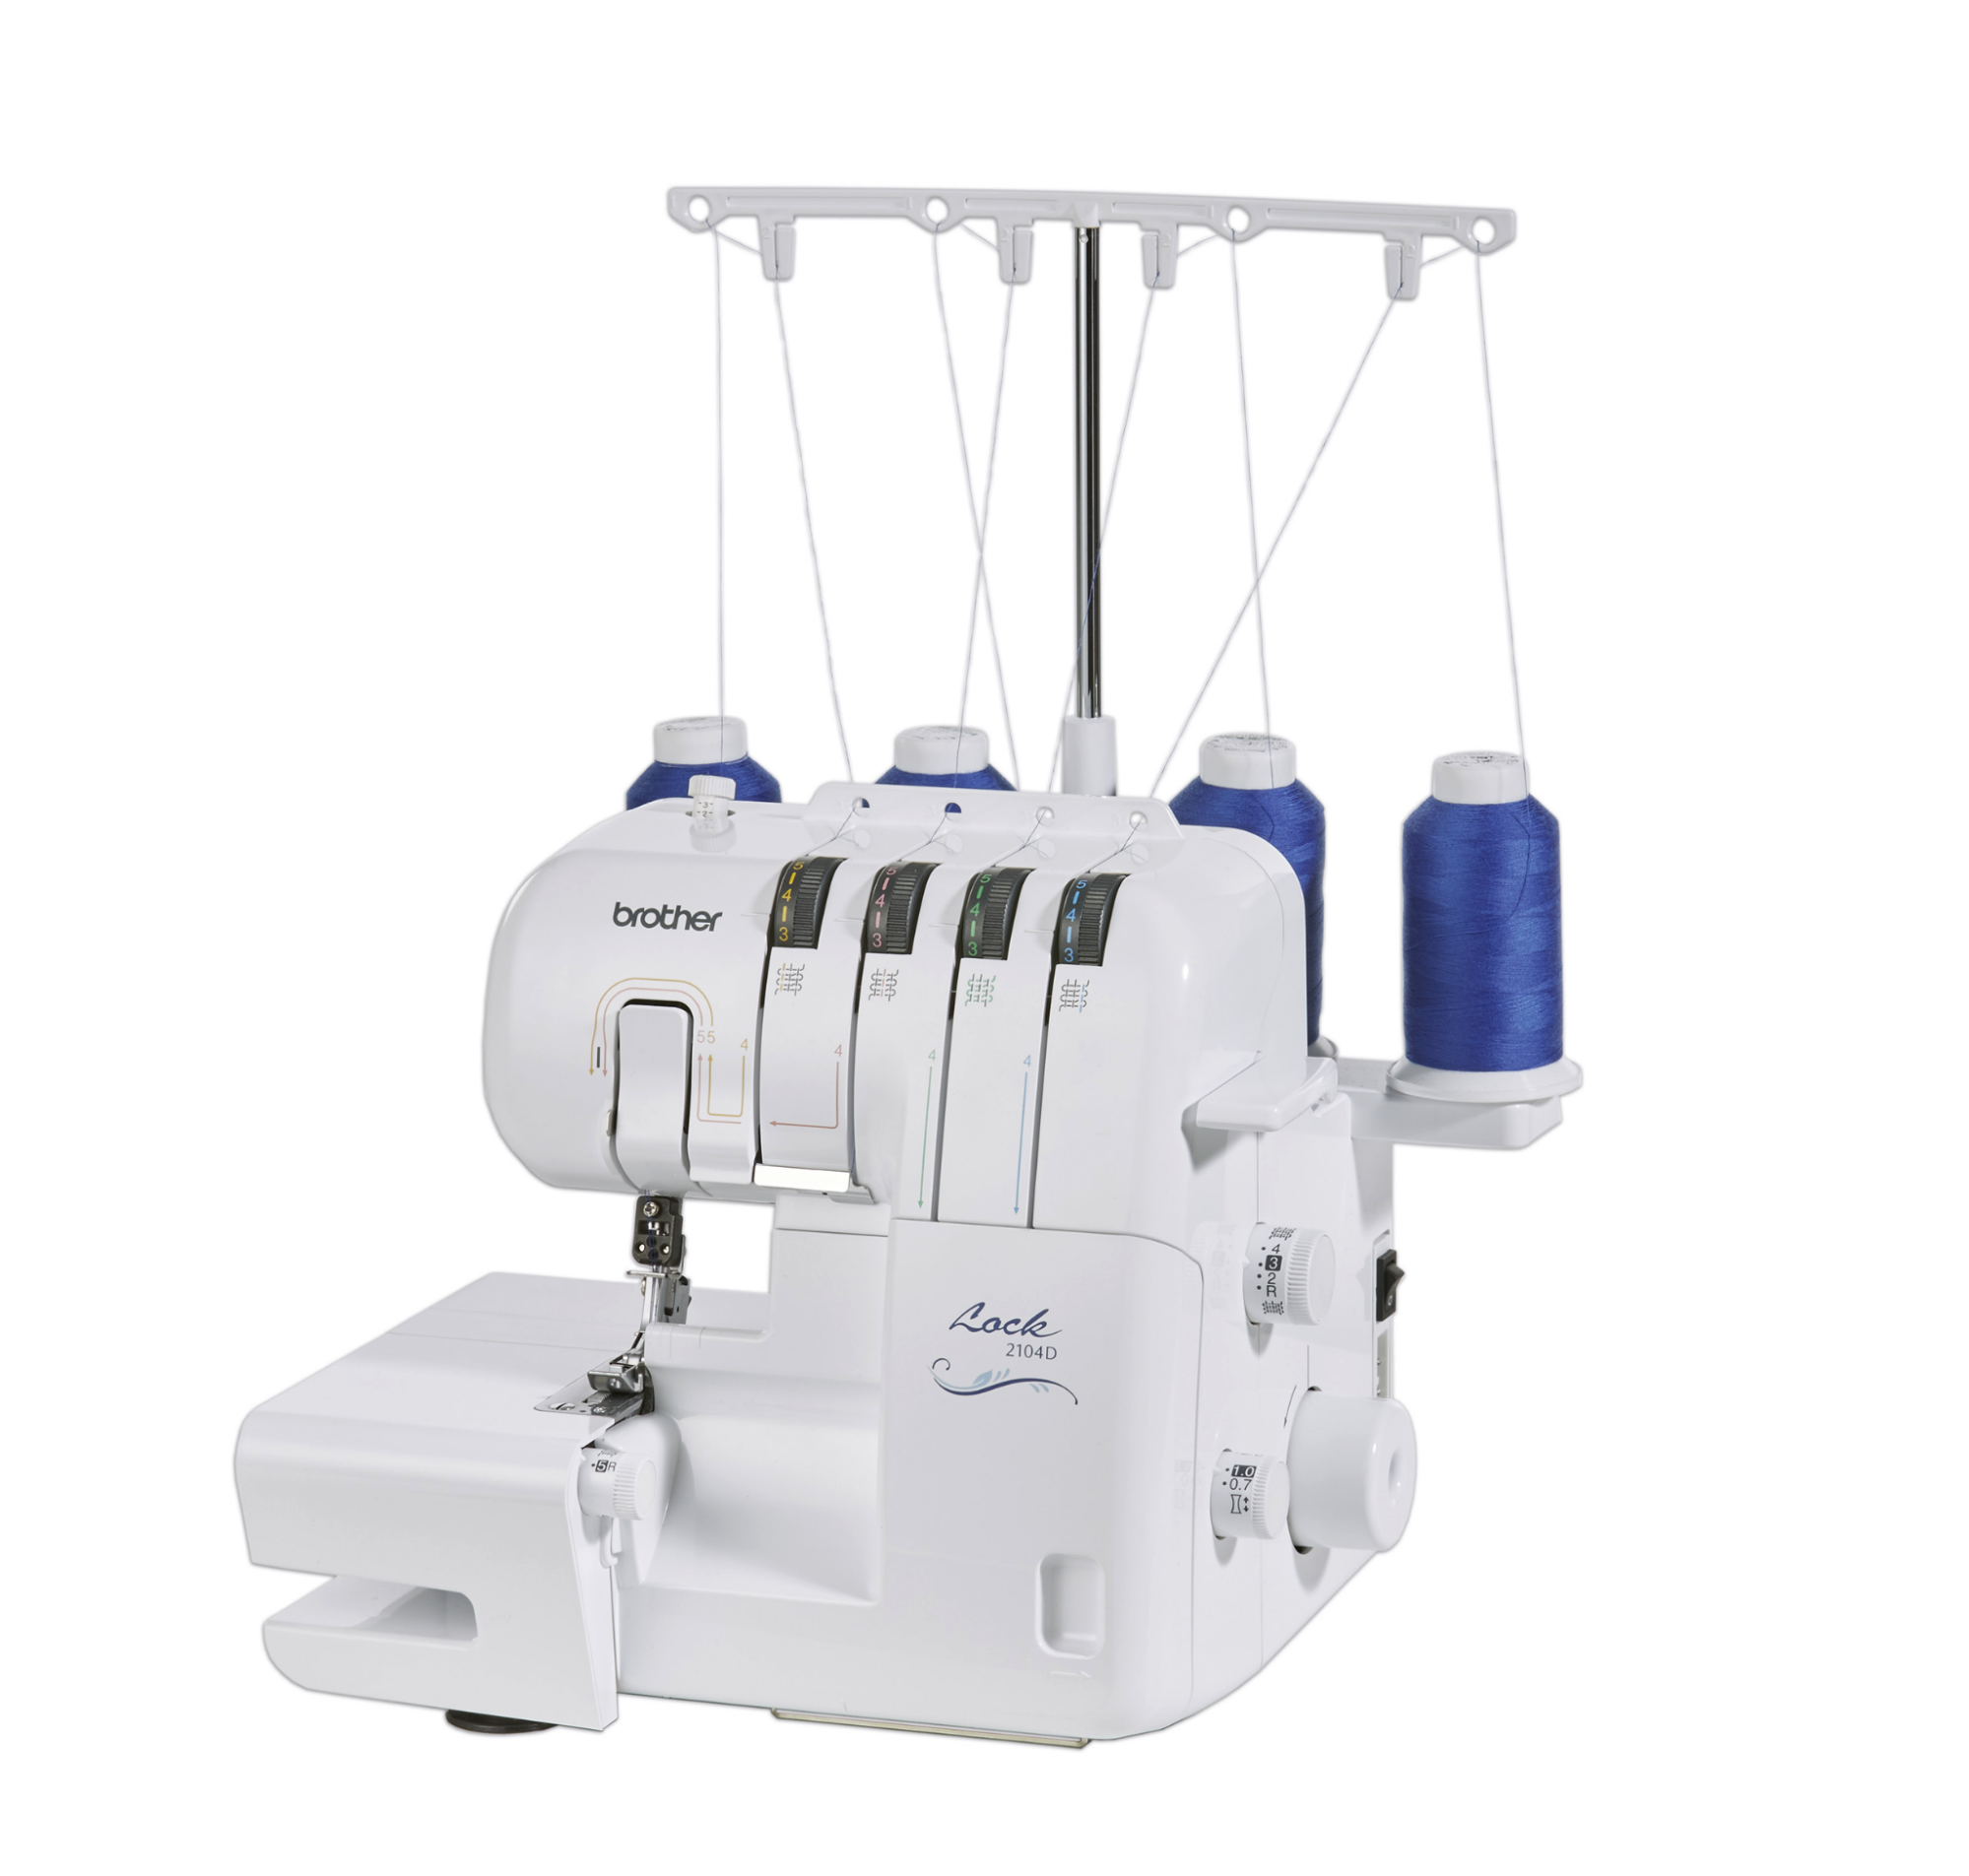
The 2104D overlocker sews seams, trims excess fabric and overlocks raw edges
French Seam
Elegant and tidy, the French seam hides all raw edges within the seam itself. It’s ideal for delicate or sheer fabrics such as voile, chiffon, or silk. To sew one, start with the wrong sides together, sew a narrow seam, trim close to the stitching, press, and then resew with right sides together. The result is a smooth, enclosed finish often seen in fine dressmaking and couture.
Flat-Felled Seam
If you’ve ever looked closely at a pair of jeans, you’ve seen a flat-felled seam. It’s strong, durable, and perfect for fabrics that need reinforcement, such as denim or canvas. One seam allowance is trimmed and enclosed within the other before being topstitched. This creates a neat, double-stitched look on the outside and adds long-lasting strength.
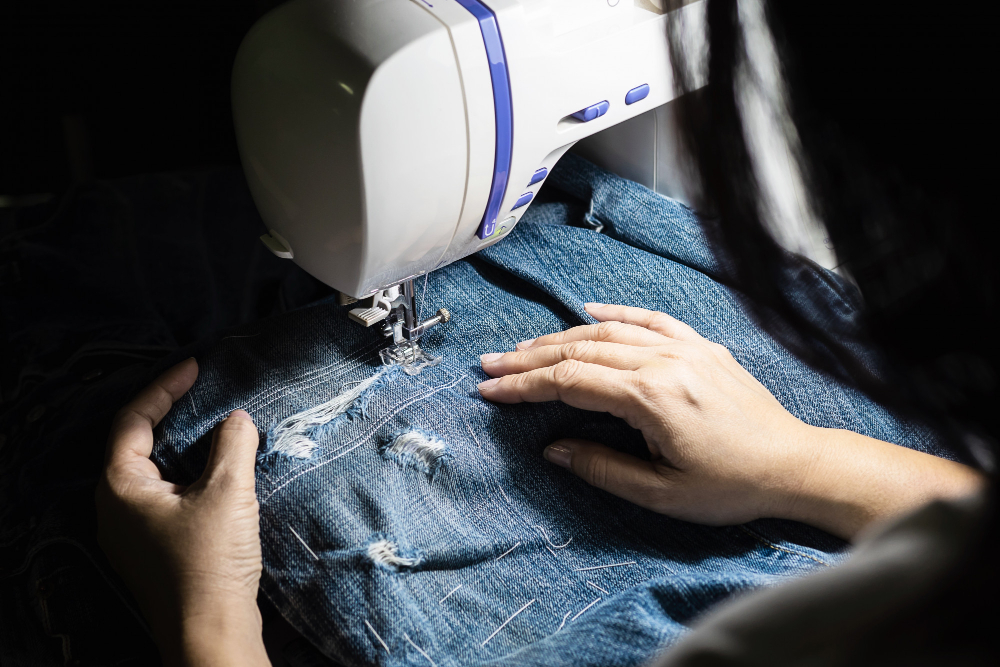
Showing seam on denim fabric
Lapped Seam
Lapped seams overlap the fabric edges instead of joining them right sides together. They’re common in leather, denim, and other heavy materials where bulk reduction is key. Visible stitching lines can add decorative detail, making them a popular choice for outerwear or contrast stitching.
Bound Seam
A bound seam uses bias binding to encase raw edges. It’s often found in unlined garments or as a decorative feature inside jackets. Besides preventing fraying, it offers an opportunity to add a pop of colour or pattern to an otherwise plain interior.
Overlocked or Serged Seam
An overlocked seam is created using an overlocker or serger, trimming and stitching the edge at once. It’s especially effective on knits and stretch fabrics, providing flexibility and preventing fraying. This method saves time while giving garments a professional finish. For more precision with elastic or delicate materials, attachments such as the WayLiner can help guide stitching and maintain even tension.
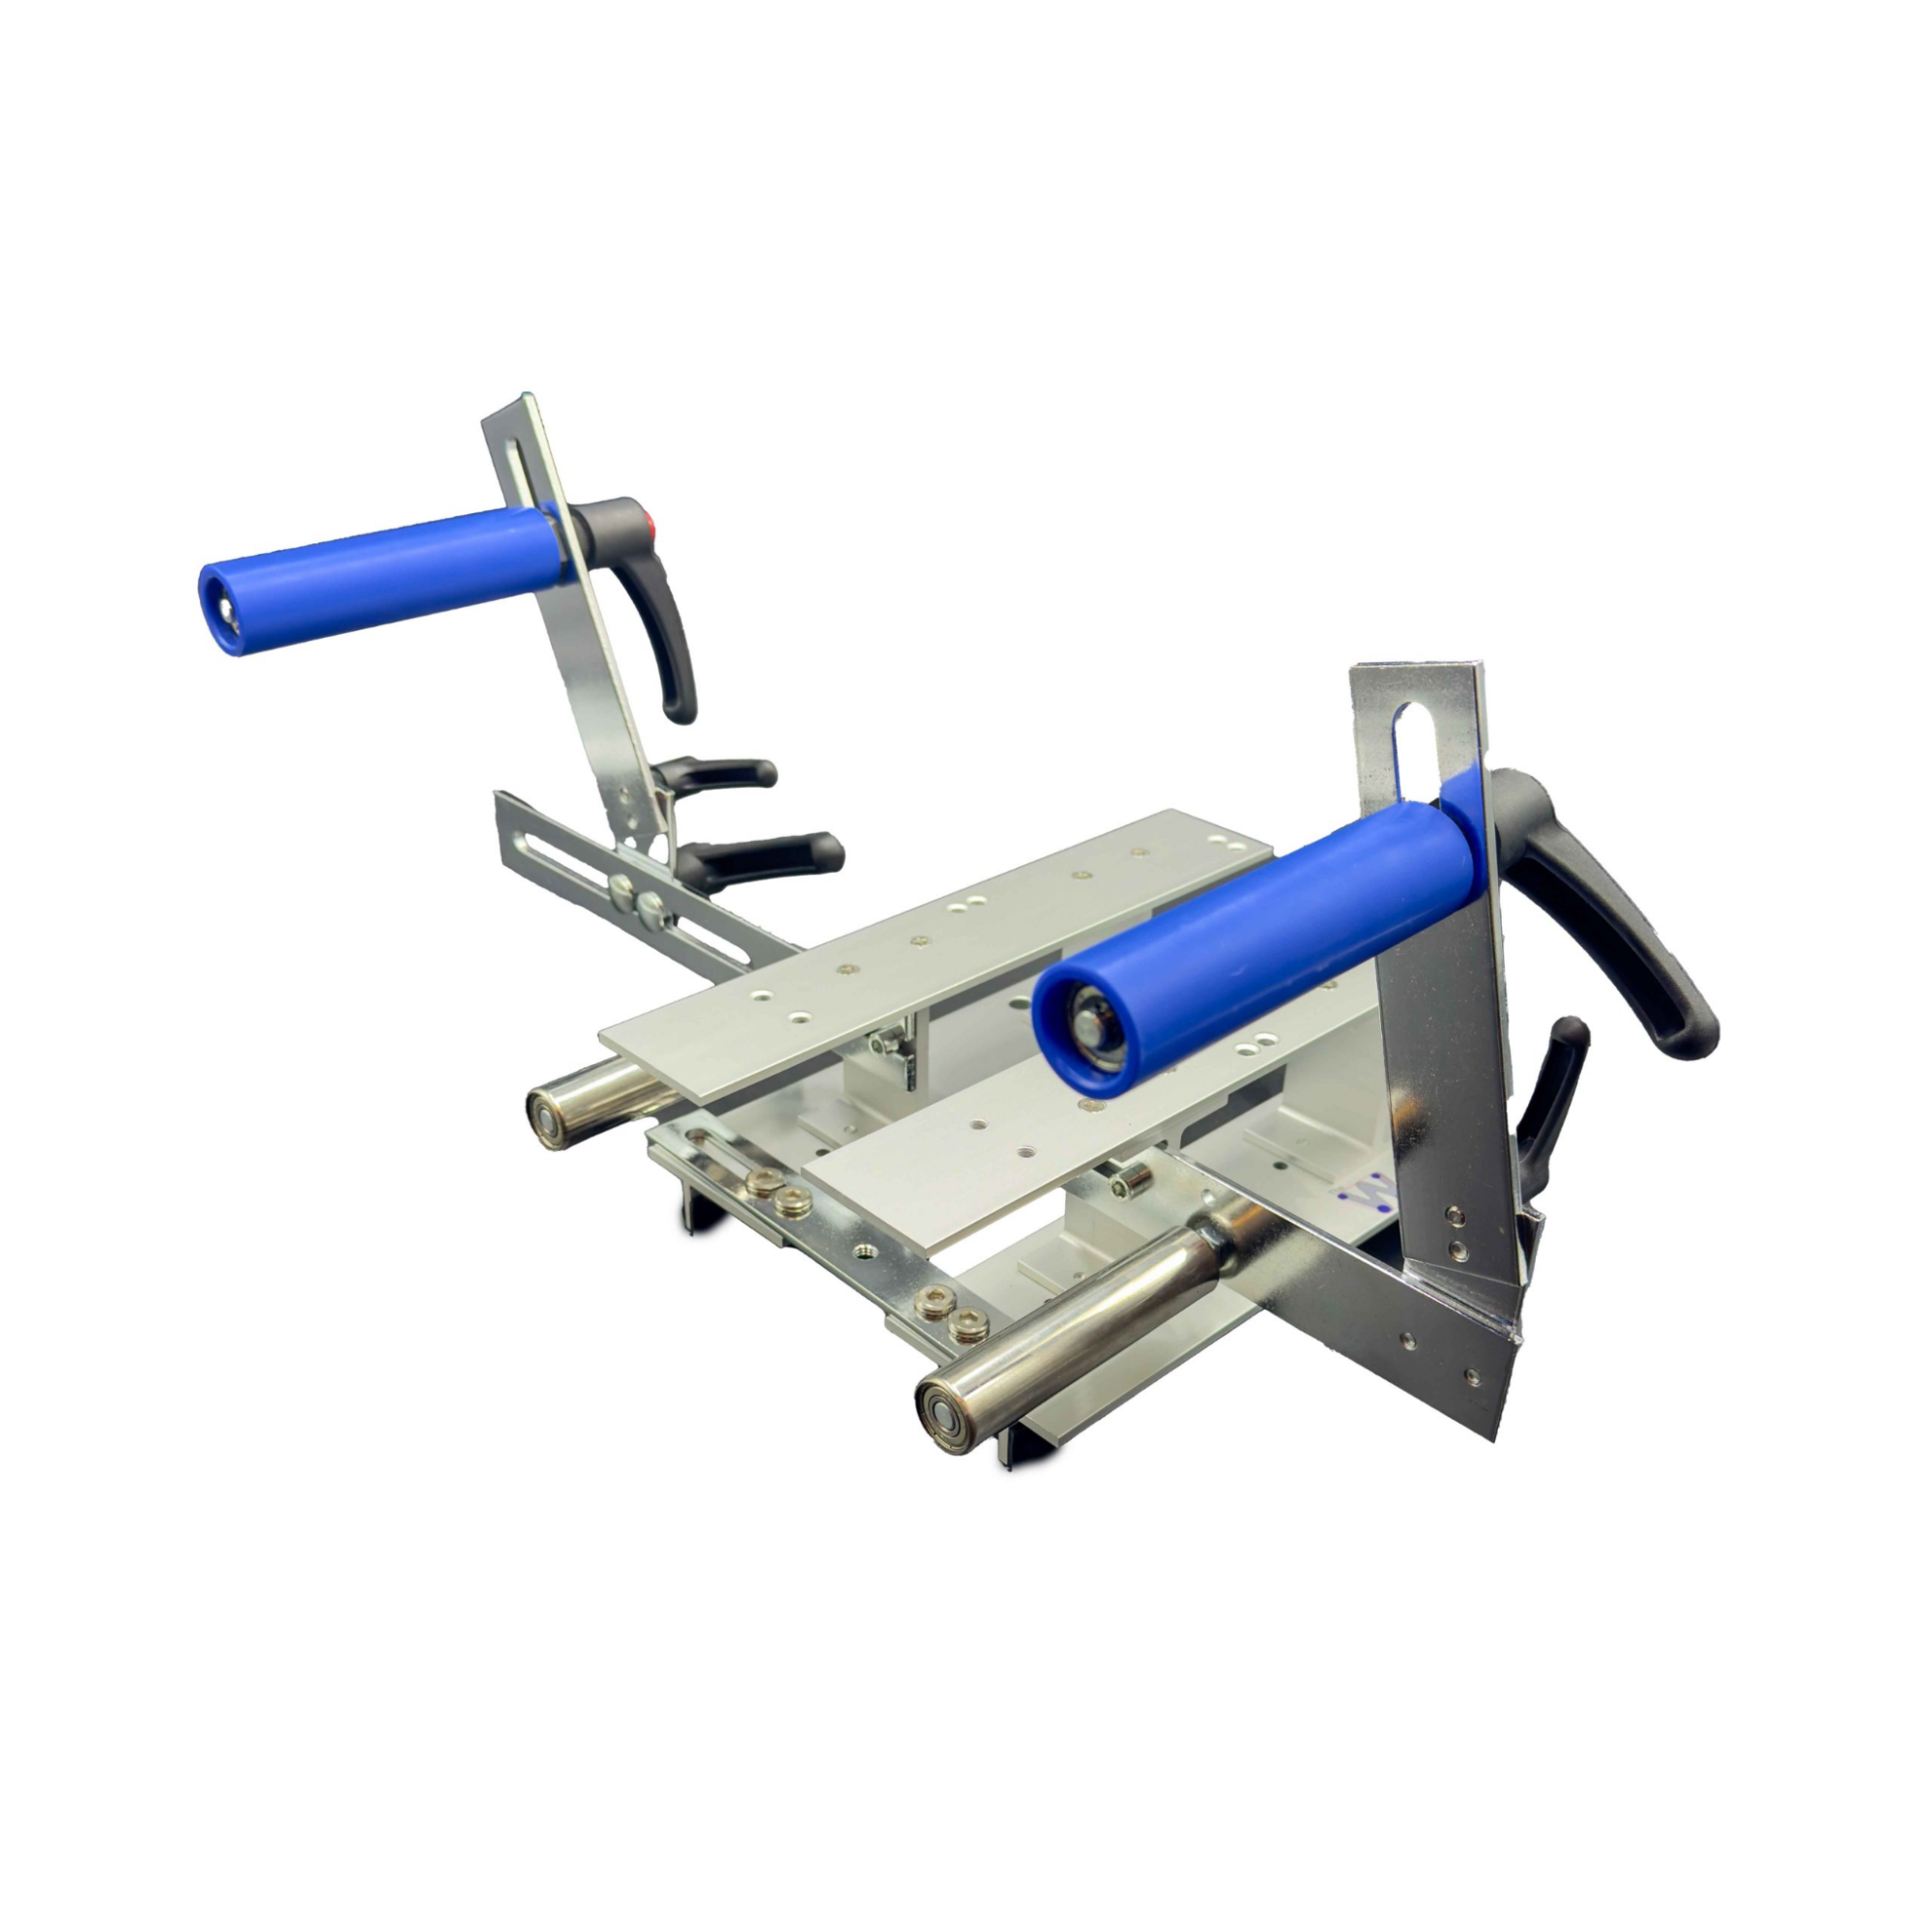
The WayLiner is our new attachment to achieve professional waistlines, hemlines, and necklines
Mock Flat-Felled Seam
A simplified version of the flat-felled seam, this approach gives a similar look without as much work. One seam allowance is folded and topstitched instead of being enclosed. It’s perfect for lighter fabrics or beginners looking to achieve a clean, structured appearance.
How to Choose the Right Seam for Your Project
Picking the best seam often depends on more than one factor. The type of fabric, how the garment will be worn, and your own sewing experience all play a part. A little planning before you start can save time and prevent frustration later.
Consider Fabric Type
Some seams suit certain fabrics better than others:
- Lightweight fabrics: Use French seams or plain seams pressed open to keep the finish smooth.
- Heavyweight fabrics: Try flat-felled, bound, or lapped seams for added strength.
- Stretch fabrics: Choose an overlocked or serged seam to allow movement and prevent breaking stitches.
Think About Function and Wear
Durability matters. Garments that face constant stress, like jeans or workwear, benefit from flat-felled or mock flat-felled seams. Delicate blouses or dresses, on the other hand, need lighter seams that won’t show through or add bulk.
Design and Aesthetic Preferences
Seams can do more than hold pieces together. They can add character:
- Visible topstitching creates structure and style on denim or casualwear.
- Concealed seams give a refined look to silk or evening wear.
- Bound seams offer creative options when you want a touch of colour inside a garment.
Skill Level and Tools
Some seams are easier to master than others.
- Beginners can start with plain or mock flat-felled seams to build confidence.
- Intermediate sewists might enjoy experimenting with French seams or bias-bound finishes.
- Advanced makers often mix seam types within one garment to balance strength and style.
The right tools can make this process smoother. A quality sewing machine, sharp needles, and the correct presser foot all help achieve consistent results. Overlockers are also useful for those wanting a quick, professional edge finish.
Finishing Touches: Pressing, Trimming, and Reinforcing
Once your seams are stitched, the finishing work brings everything together. A few careful steps can make the difference between an average project and one that feels expertly made.
Pressing for a Professional Finish
Pressing each seam as you go helps set the stitches and shape the garment. Use a steam iron to flatten bulky seams and a pressing ham for curved areas like sleeves or darts. Avoid dragging the iron, as it can distort the fabric. Instead, lift and press gently. Good pressing habits are what give handmade garments their crisp, tailored appearance.
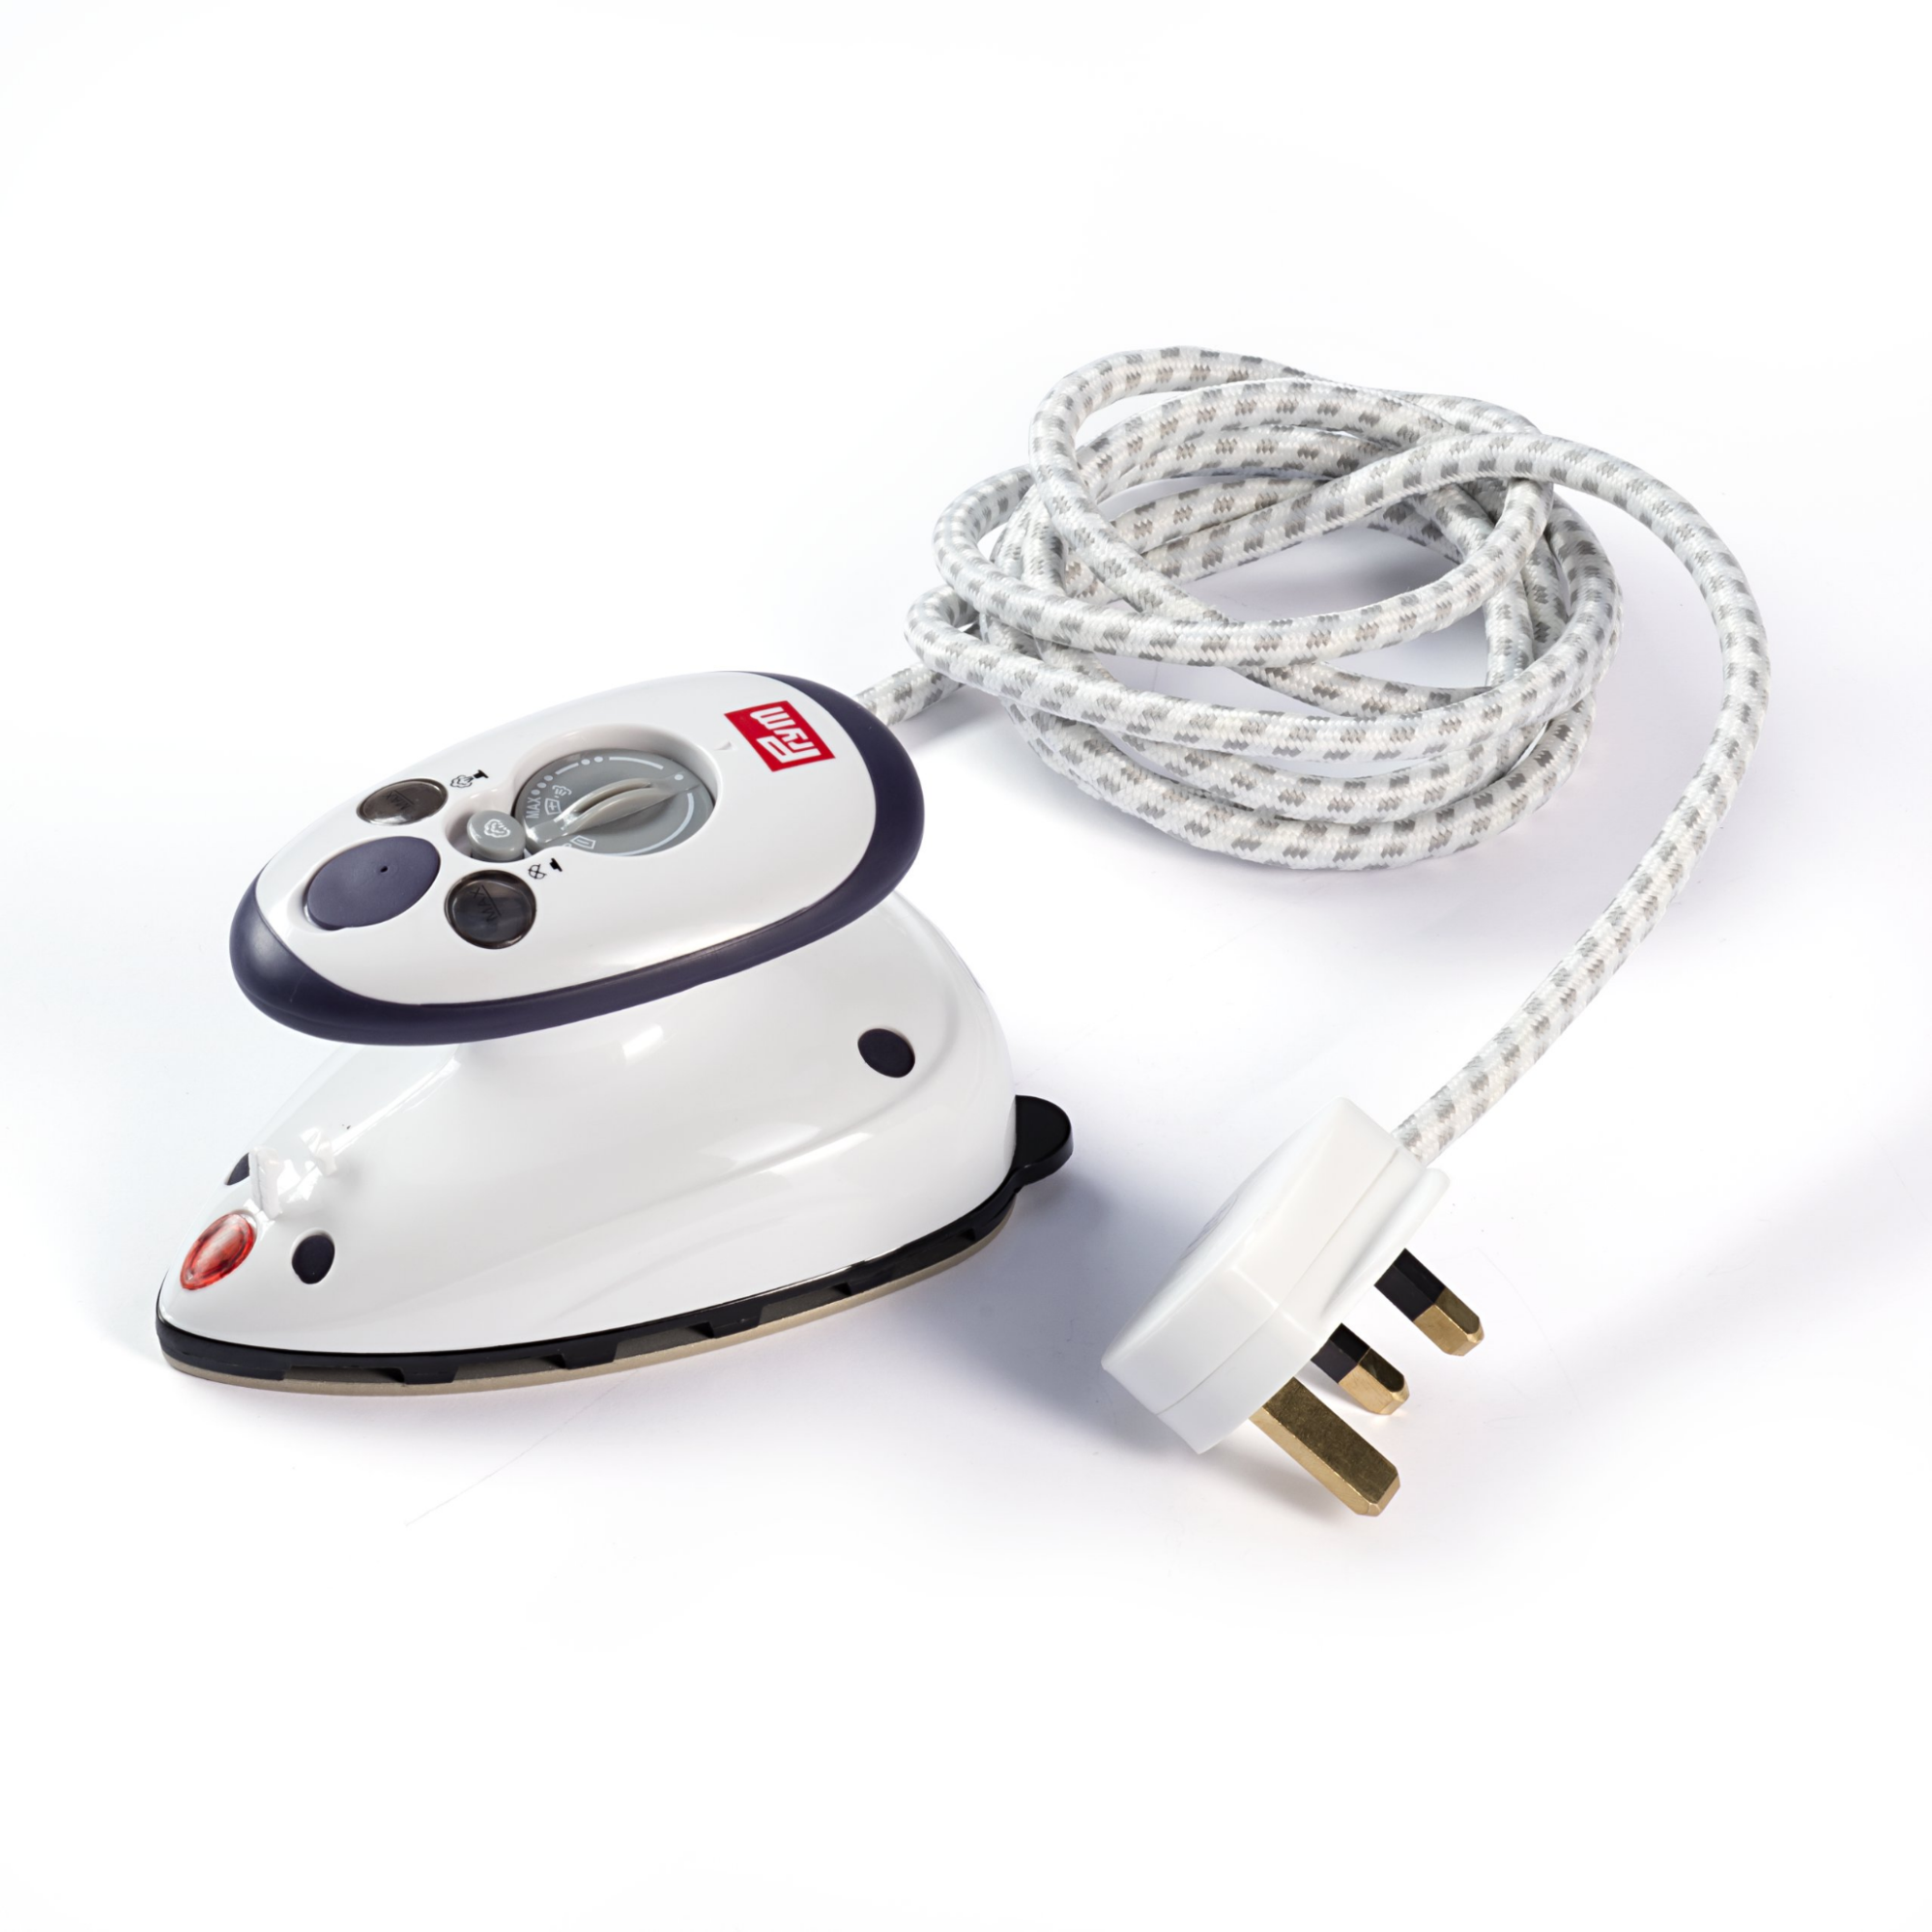
Prym Mini Steam Iron for travel or space saving
Trimming and Grading Seam Allowances
Trimming removes excess fabric from seam allowances, reducing bulk and helping seams sit smoothly. Grading goes a step further by trimming each layer to a slightly different width. This technique works especially well on collars, cuffs, and waistbands where layers can pile up. If you’re sewing with heavier fabrics, take extra care to trim evenly for a balanced result.
Reinforcing Stress Points
Certain areas, like pocket openings or armholes, face more strain than others. Adding a small row of backstitching or a bar tack can help these points last longer. For extra support, try a small piece of interfacing or stay tape along the seam.
Helpful Tools to Try
Keeping a few reliable tools on hand makes finishing easier:
- Pressing ham or seam roll: perfect for shaping curved seams.
- Seam guide or gauge: helps maintain accuracy when trimming or topstitching.
- Speciality presser feet: improve consistency when sewing bulky layers or tight corners.
Stitching It All Together
Seams can seem like little details, but they determine how every project comes together. Once you start taking note of how various seams perform, you’ll find it simpler to pick the correct one for each fabric and finish. A French seam could make a silk garment seem luxurious while a flat-felled seam keeps denim strong for years. The more you experiment, the more confident you’ll become at balancing aesthetics, strength, and practicality.
If you’re ready to refine your sewing setup or explore attachments that make seam work easier, visit us at Franklins. From sewing machines and overlockers to accessories, you’ll find everything you need to create seams that look as good as they feel.